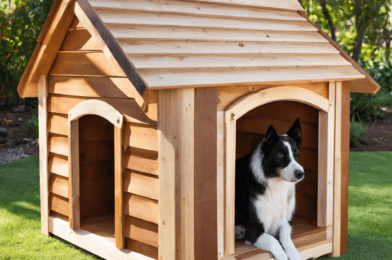
Welcome to the world of DIY doghouse building! Constructing a cozy and functional space for your furry friend can be a rewarding project, and with the right guidance, you’ll have a tail-wagging success. Whether you’re a seasoned builder or a novice DIY enthusiast, this step-guide will ensure your dog’s new house is the talk of the neighborhood. Prepare to unleash your creativity, grab your tools, and let’s get started on this paws-itively fun adventure!
First things first, consider the size of your dog and plan accordingly. A doghouse should be spacious enough for your pet to comfortably stand, turn around, and lie down with ease. Measure your dog’s height and length, and ensure the interior dimensions provide ample room. Adequate space is key to your dog’s comfort, especially during those hot summer days or chilly nights. You can even add a little extra room for their favorite toys and blankets!
Next, choose the right materials. Opt for durable, weather-resistant options such as cedar or pressure-treated lumber. Ensure that the materials are pet-safe and non-toxic. The roof should be constructed with a slight slope to allow rainwater or snow to run off, preventing leaks and keeping your dog warm and dry. Consider using shingles or a similar material to add a layer of protection and an aesthetically pleasing finish.
When it comes to design, simplicity is often best. A traditional A-frame doghouse is a classic choice and relatively easy to build. Ensure the entrance is appropriately sized, allowing your dog to enter and exit effortlessly while providing protection from the elements. Proper ventilation is crucial, so include a small window or vent near the roof to allow fresh air to circulate.


